
Wood finishing, plain talk
Standing in front of a can of stain? Start here.
Straight answers for every can of stain and every coat of finish.
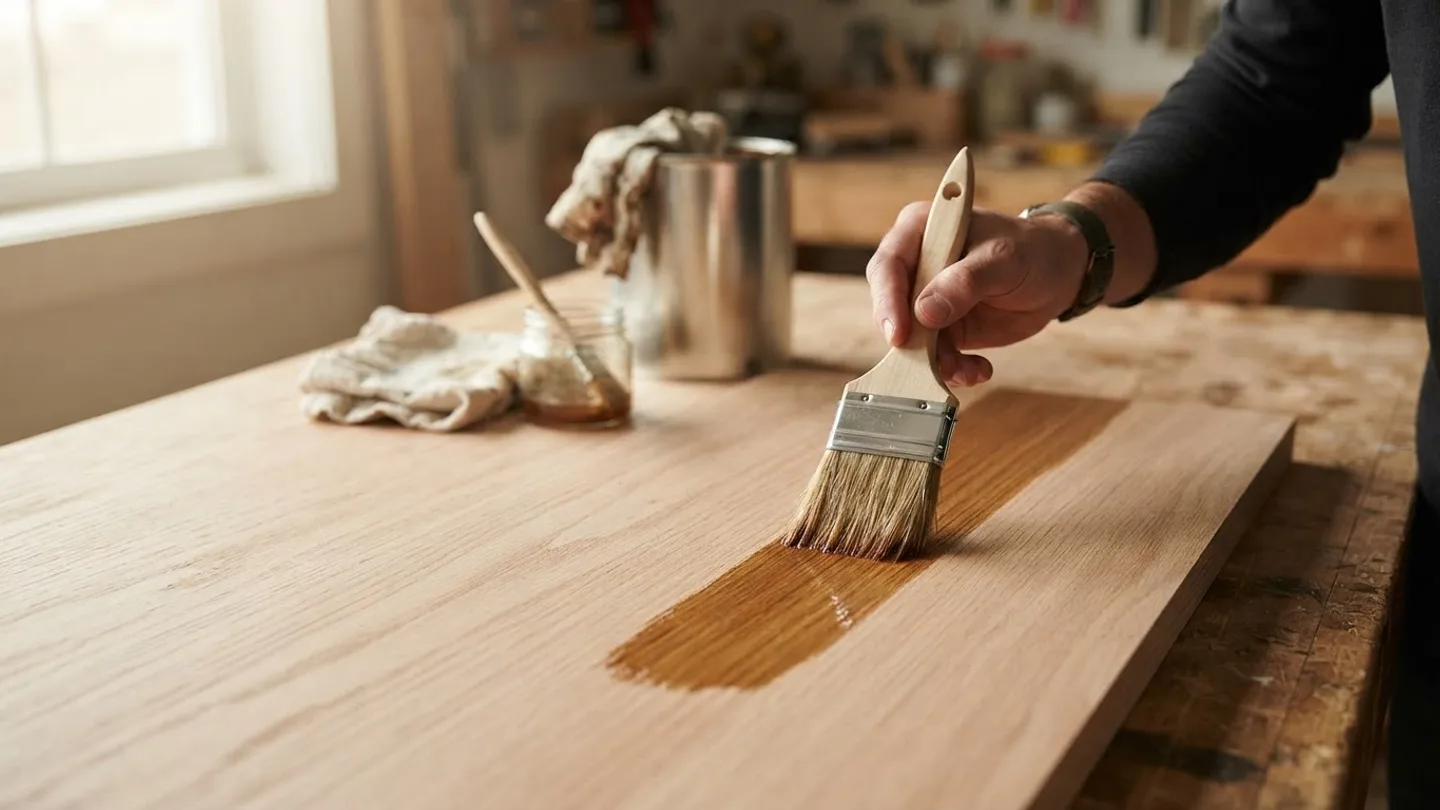
Find your job
What are you working on?
That thrifted dresser, done right
You found a solid oak dresser for forty dollars and now it is sitting in the garage. The question is not whether you can refinish it. You can. The question is what is on it now, and what can go over that.
We walk you through identifying the old finish, deciding between stripping and scuff sanding, and choosing a stain and topcoat that actually get along. Step by step, with real dry times at 70°F, not the optimistic ones on the front of the can.
Gray wood, peeling stain, summer coming
A weathered deck is the most common project we cover, and the most commonly botched one. Most failures happen before a single board is stained: poor cleaning, damp wood, or a new coat laid over an incompatible old one.
Our deck guides start with a moisture test you can do with a sheet of plastic, then move through cleaners, strippers, brighteners and stain choices for pressure treated pine, cedar and redwood.
Polyurethane without the panic
Your first topcoat feels high stakes because it is the last step and the most visible one. It does not need to be. Brush on, wipe on, water based or oil based: each has a clear use case, and we tell you which is which.
You will learn what a recoat window is (the span of hours when the next coat bonds best), why 220 grit between coats matters, and how to keep dust out of a finish in a garage that is not a spray booth.
Blotchy, tacky or bubbly
Something went wrong and now you are searching at midnight. Good: most finish problems have a fix that does not involve starting over. Blotchy stain on pine, a topcoat that is still tacky after three days, bubbles in the poly. We have seen all of them.
Each fix-it guide starts with the cause, because the cause decides the cure. Sometimes the honest answer is to strip it. We say so when it is.
How we work
What makes these guides different
Compatibility first
Every guide opens with the question that ruins projects when it goes unanswered: what can go over what, and after how long. Oil over water, water over oil, poly over lacquer. You get the answer before you get the steps.
Real dry times
Dry to touch, recoat and full cure times come from manufacturer technical data sheets, not marketing copy. Then we explain in plain words how cold, humidity and heavy coats stretch those numbers, because your garage is not a lab.
At a glance boxes
Every how-to starts with a summary box: finish base, dry to touch, recoat time, full cure, cleanup method and ventilation needs. You know what you are signing up for before you open the can.
Honest warnings
We tell you when gel stain is the wrong fix and when a floor really needs a pro with a drum sander. And safety is never an afterthought: oily rag combustion and lead paint testing in pre-1978 homes get full explanations, not footnotes.
Our approach
The numbers behind every guide
4
Dry stages tracked: touch, recoat, cure, use
100%
Independent, no brand sponsorships
1
Question answered first: what goes over what
0
Jargon left unexplained
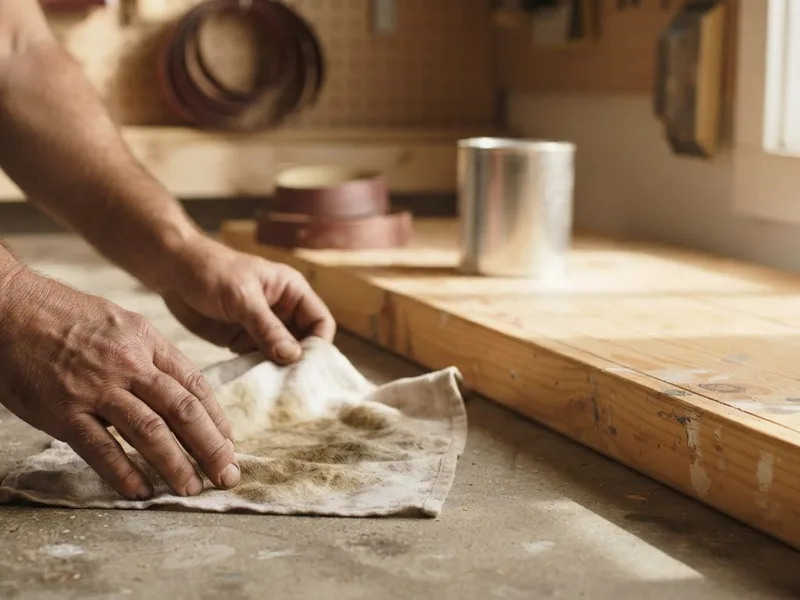
The oily rag warning we repeat on purpose
A rag soaked in boiled linseed oil or oil based stain can catch fire on its own. As the oil cures, it gives off heat. Wadded up in a trash can, that heat builds until the rag ignites. This is not a rare edge case. It burns down garages every year.
The fix takes thirty seconds. Lay oily rags flat on concrete, out of the sun, until they are stiff and dry. Or put them in a metal can filled with water and a tight lid. Never bunch them up, never toss them in a plastic bin while they are still soft.
Every one of our guides that involves oil based products repeats this. It is the one piece of copy we are happy to bore you with.
How a guide reads
Every project, same honest structure
Start with what is on the wood
Old finish, bare wood or mystery coating from 1985. You learn to identify it with simple tests before you buy anything, because the existing surface decides everything that follows.
Check compatibility and timing
What can go over what, and after how long. If your plan will not work, we say so here and give you the plan that will. This is where most project failures are prevented.
Prep with named tools and grits
Concrete instructions: 120 grit on the random orbit sander, then 150 by hand with the grain. Tack cloth, mineral spirits wipe, whatever the job actually needs. No vague advice to sand it smooth.
Apply, wait, recoat
Coat by coat, with the wait in hours at 70°F and what changes when it is colder or humid. You learn what raised grain is and why a light pass with 220 grit after the first coat is normal, not a mistake.
Fix or maintain
If something goes sideways, each guide links to the matching fix. If it goes right, you get the maintenance schedule so you are not redoing the whole thing in two years.
Questions we hear every week
Can I stain over an existing finish without stripping?
Usually no, because stain needs to soak into bare wood to color it. The exception is gel stain, which sits on the surface like a thin paint and can go over a sound, scuff sanded finish. It works for going darker on cabinets and doors, but it is the wrong fix when the old finish is peeling or when you want to see real grain. We have a full guide on when gel stain earns its keep and when it just makes a sticky mess.
How long do I really wait between coats of polyurethane?
The label time assumes 70°F and moderate humidity with a thin coat. Water based poly is often ready to recoat in 2 to 4 hours, oil based in 8 to 24. Drop the temperature into the 50s or raise the humidity and those numbers can double. A heavy coat can stay soft far longer than the label admits. Our guides list the technical data sheet numbers, then explain how your actual garage conditions stretch them.
My pine came out blotchy. Do I have to sand it all off?
Often not. Blotching happens because pine absorbs stain unevenly. If the color is acceptable, a couple of coats of a clear topcoat can even out the look more than you would expect. If it is truly bad, you can apply a glaze or gel stain over a sealed coat to rebalance the color. Next time, use a pre stain conditioner or a washcoat, which is a thin coat of sealer that slows absorption. Our pine guide covers all three routes.
My deck stain is peeling after one year. What went wrong?
Nine times out of ten, it is prep or moisture. Film forming stains peel when the wood was damp, dirty or previously coated with something incompatible. The honest fix is to strip or sand the loose coating, clean and brighten the wood, let it dry properly (we show you the plastic sheet test), then switch to a penetrating semi transparent stain. It fades instead of peeling, which is a much easier problem to live with.
Is it safe to refinish furniture from a house built before 1978?
Proceed carefully. Paint in pre-1978 homes may contain lead, and sanding it creates hazardous dust. Test first with an EPA recognized lead test kit from any hardware store. If it is positive, do not dry sand. Wet methods, chemical strippers rated for lead paint or a professional are the right call. Our safety section walks through the test and your options in plain terms.
Stuck between two cans at the hardware store?
Tell us what you are finishing, what is on it now and where it lives. We will point you to the right guide or answer the question directly.